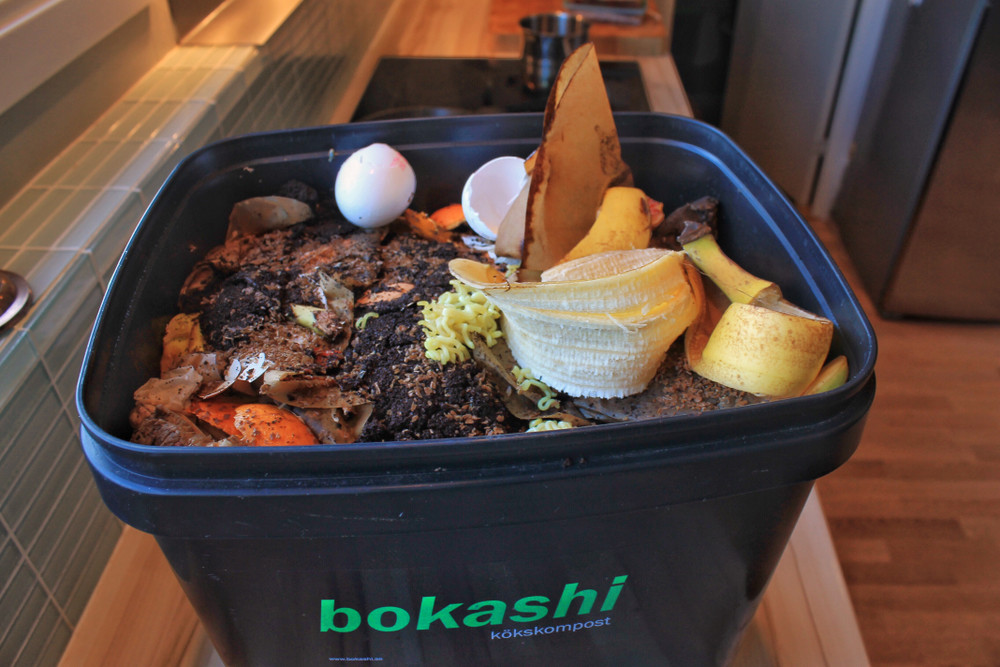
Does your current compost system leave your garden lacking?
Are you sick of having to sort out the veggie scraps from meat and dairy products?
It might be time to experiment with a more advanced composting system- one that lets you build up your soil without being overly picky about the ingredients, and without producing bad odors in the process.
Using a bokashi bucket flips the process for standard systems by pickling your scraps in low oxygen conditions instead, leaving you with a quick forming, nutrient-dense soil additive that diverts the majority of your kitchen waste away from the landfill.
But what is bokashi composting, and are the benefits worth investing in a whole new compost system? By the end of this article, you might be convinced that they are.
What Is Bokashi Composting?
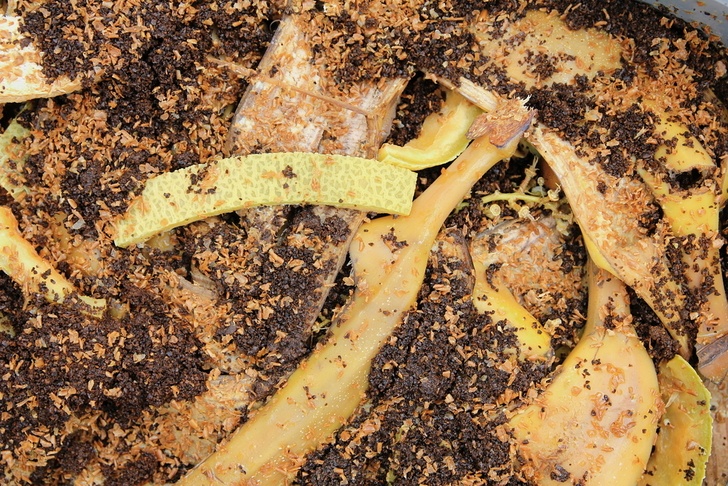
Having originated in Japan, bokashi (a term that translates to ‘fermented organic matter’) is a fermentation process that relies on inoculated materials, usually bran, to transform kitchen scraps into high-quality compost.
Unlike traditional composting systems, a bokashi bucket can handle meat and dairy, making it perfect for anyone who is sick of sorting through their food scraps for standard compost.
Despite its name, the bokashi method isn’t fundamentally about composting.
Instead, bokashi buckets work by putting food scraps through an anaerobic (no oxygen) fermentation process. This causes microorganisms to pickle the scraps rather than fully breaking them down.
This bokashi “compost” is infused with beneficial bacterial strains like lactic acid (Lactobacillus spp.), non-sulfur bacteria (Rhodopseudomonas spp.), and yeast (Saccharomyces spp) that are similar to the bacteria found in yogurt.
Together, they produce a sour, yeast-like scent that’s comparable to animal silage. These added microbes make it easier for garden plants to take in its nutritional content.
Bokashi composting also stands out from standard processes because the final stage requires you to briefly bury the fermented materials outdoors to complete the decomposition process.
History Of Bokashi Composting
Where did bokashi composting come from?
The quick answer is traditional Asian agriculture. Many countries have a long tradition of collecting and cultivating naturally-occurring soil microorganisms for improving their agricultural results while minimizing their need for outside soil amendments.
These farmers would collect and ferment their food scraps, first by burying them in the ground for several weeks to let the natural microbes do the work. Once the scraps had fully fermented, they would be dug up, mixed with soil, and incorporated into garden plots.
This traditional bokashi method was practiced for centuries with little change until research by the Japanese Professor Teruo Higa discovered the optimal ratio of microbes to material for efficient fermentation for food scraps.
Bokashi buckets today utilize this ratio to improve their efficiency, ensuring that bokashi fermentation is a quick, reliable process that creates consistent results.
9 Reasons To Start Composting With A Bokashi Bucket
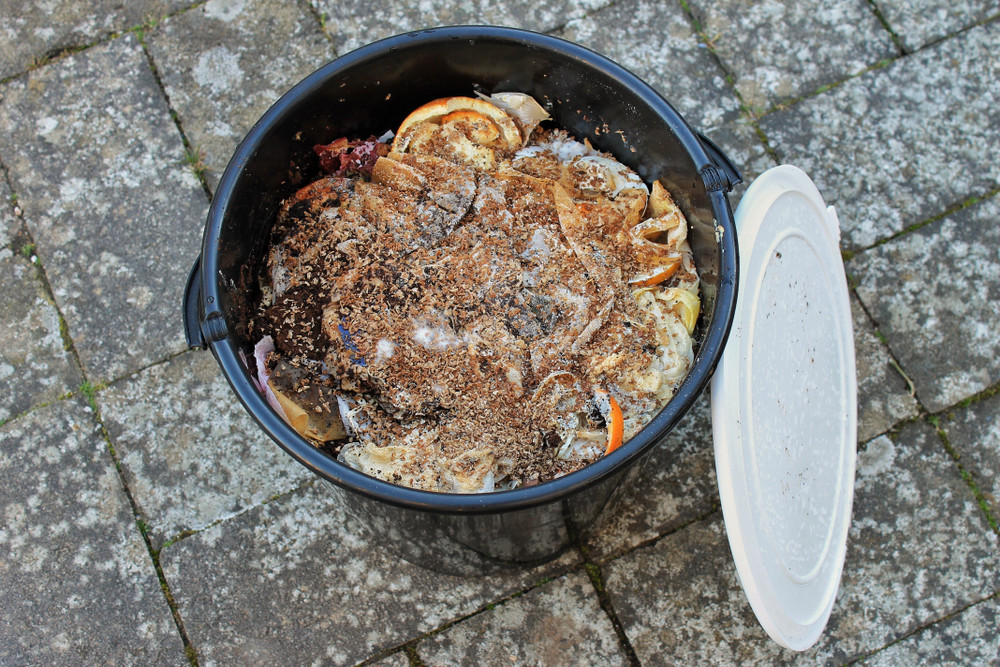
With so many composting strategies available, how are you supposed to decide which one is right for you? Learning how to compost with a bokashi bucket makes sense in your situation if you:
1. Are tired of trekking out to the outdoor compost pile each day
2. Want to work with a system that can handle 99% of your food scraps (no sorting things into “compostable” and “not compostable” piles)
3. Want a compost system that’s free from foul odors, won’t attract vermin or fruit flies, and can be kept inside.
4. Struggle to maintain the optimal balance between “greens” and “browns” in your compost pile.
5. Are looking for an efficient (and trendy!) way to make your home more environmentally friendly.
6. Want compost that is pathogen free, thanks to high acidity levels during the fermentation process.
7. Are looking to create compost that doesn’t produce heat or greenhouse gases like methane or CO2.
8. Want compost you can use within six weeks of starting the process (other methods can take four months or longer).
9. Are looking for an efficient way to keep food waste out of landfills
Read Next: Composting 101: How To Create Compost That Works Like Rocket Fuel For Your Garden
Where Can You Get Bokashi Composting Supplies?
Though bokashi composting is still on the fringe, finding the supplies you need isn’t difficult.
All that’s necessary is a bucket and bokashi inoculate.
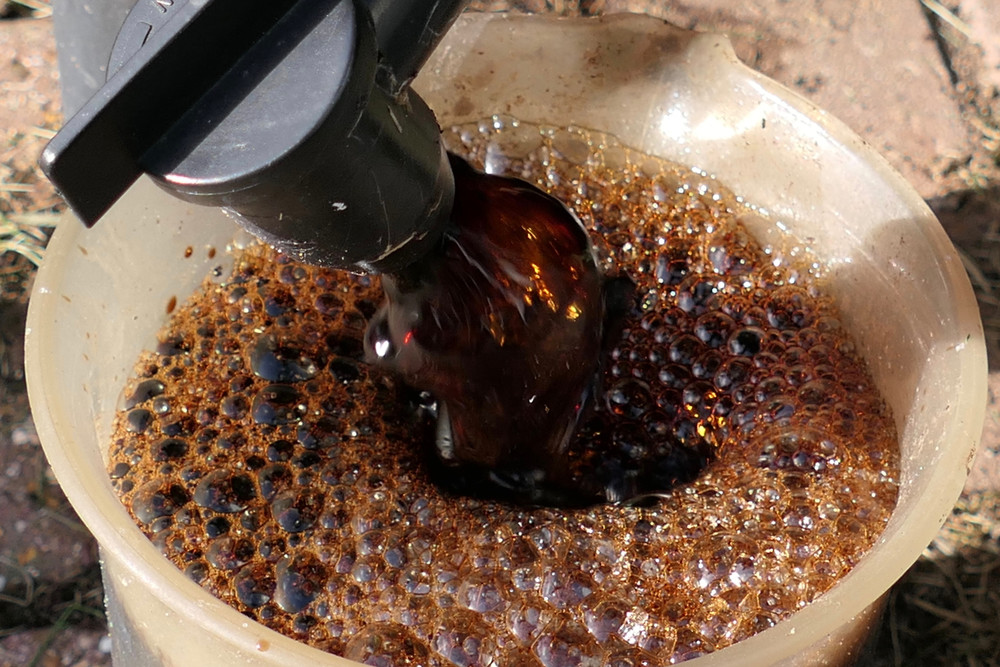
Commercially available bokashi bucket kits are designed with thick walls, a tight-fitting lid, and a false bottom with a spigot to drain and access excess liquid (called leachate). This makes it easier to optimize their conditions for the most efficient fermentation process.
Interested in making a homemade bokashi bucket? Instructions can be found at 1 Million Women’s website.
Though it’s possible to make homemade bokashi inoculant, it’s usually best to buy some pre-made when you’re first starting out to ensure it’s standardized.
Foods To Use For Bokashi Composting:
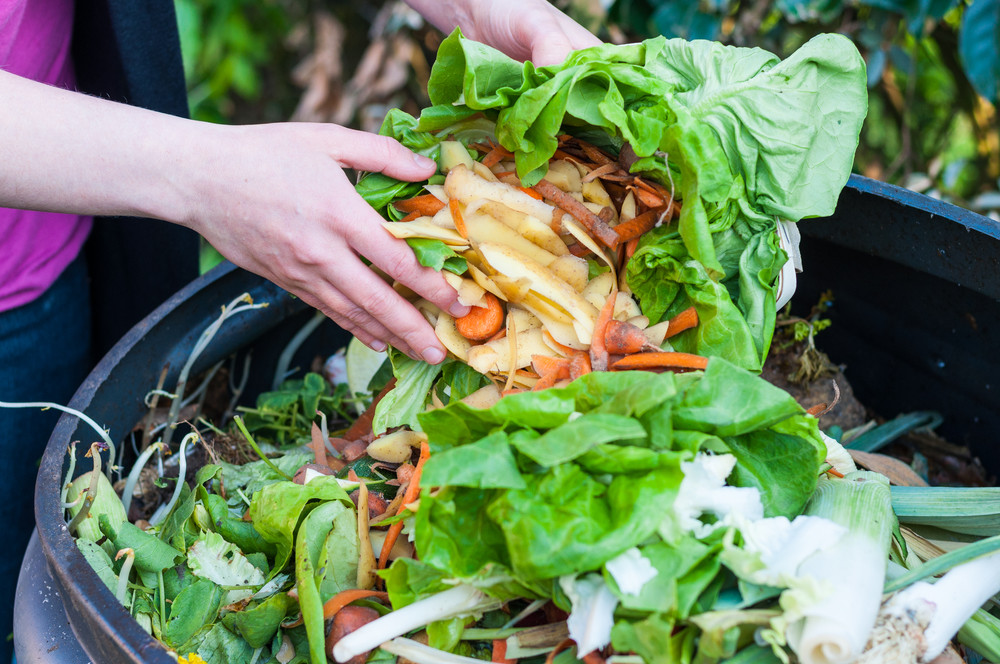
While bokashi buckets are famed for making composting straightforward, not all foods do well in the system.
Some ideal forms of kitchen waste include:
- Produce scraps
- Rice, pasta, and bread
- Meat, dairy, and other animal products (including bones)
- Tea and coffee grounds
Foods Best Avoided For Bokashi Compost:
- Paper and plastic scraps
- Yard waste
- Grease
- Excessive liquids
- Scraps coated in heavy sauces or vinaigrettes.
How Do You Use A Bokashi Composting Bucket?
Putting a bokashi bucket to use isn’t difficult.
You can start the process by adding food scraps to the bottom of the bucket and sprinkling a handful of your bokashi inoculant over the top.
Finely chopped material will break down fastest, but you can skip that step and add scraps as-is if you prefer.
Continue building layers like this until the bucket is as full as you can get it. Even if you add food scraps every day, this might take several weeks because they will settle as they start to decompose.
In many cases, it’s helpful to press down on the waste material with a heavy plate to keep it compressed and tightly packed against each other to speed up fermentation.
Bokashi fermentation is an anaerobic process, which means that excessive amounts of oxygen will cause problems. That’s why compressing the material so that it lies flat is critical.
Unlike other composting systems that require the contents to be stirred around occasionally, your goal with bokashi is to avoid shifting the material already in place when you add new scraps.
Likewise, you might need to regularly drain liquid from the system to keep conditions optimized for fermentation.
As you add material over time, be sure to keep the container as airtight as possible. If you’ve done things right, after a few weeks the food in the bucket will develop a faint sour odor, similar to pickles.
Once the bucket is full and the contents have begun to ferment, it’s time to take it outside to bury. This critical step completes the composting process, so following instructions carefully is essential.
First, dig a hole approximately a foot deep and far from other plant roots. This is because early-stage bokashi is acidic and can damage any plants it contacts. Place the bucket’s contents into the hole and cover them with approximately six inches of soil.
Allow things to “mellow” for about a month before digging the scraps back up and incorporating them into your garden’s fertility plan.
You can also bury bokashi scraps in your compost pile as a space-saving alternative, so long as you monitor its pH level to ensure that things don’t become too imbalanced.
Troubleshooting With Bokashi Composting
Breaking down food scraps with bokashi might seem like a basic process, but a few things can quickly go wrong along the way.
One telltale sign that things aren’t going as planned is that your bokashi system smells a little “funkier” than standard pickles. In most cases, a foul odor is a sign that things are rotting, not fermenting.
If you smell a strong, sulfur scent or notice that your food scraps are turning into soup, try the following troubleshooting tips to get your system back in shape.
Keep the lid of the system tightly closed at all times except when you’re adding more material.
Finely chop big pieces of food to speed up the composting process.
Make sure you incorporate a good balance of bokashi inoculate to food scraps in your system by adding a well-spread handful on top of every layer of food scraps.
If the system starts to smell, add more bokashi bran and give it a few days to fix the problem. If that doesn’t help, dump out the bucket’s contents and start over.
Never add water or liquids to the bucket, and use the included spigot on commercial buckets to drain any liquid buildup.
Try to minimize the amount of rotten or moldy food scraps you put in the bucket, as black, blue, or smelly mold is a sign that you are growing something unpleasant. Small amounts of white mold are okay, as they are a sign of a perfectly safe filamentous bacteria.
Keep the system out of direct sunlight and wash it thoroughly between batches.
Many people find that a potato masher is perfect for pressing down food scraps to compress them and remove trapped air.
The liquid created in a bokashi system can be used as fertilizer, so long as you dilute it first. You can mix one teaspoon with two liters of water and mix it directly into the soil. Take care to keep the treatment off plant leaves though, as it can burn them.
Another option for bokashi composting liquid? Keep it concentrated and pour it directly down drains to kill mold and algae growth.
