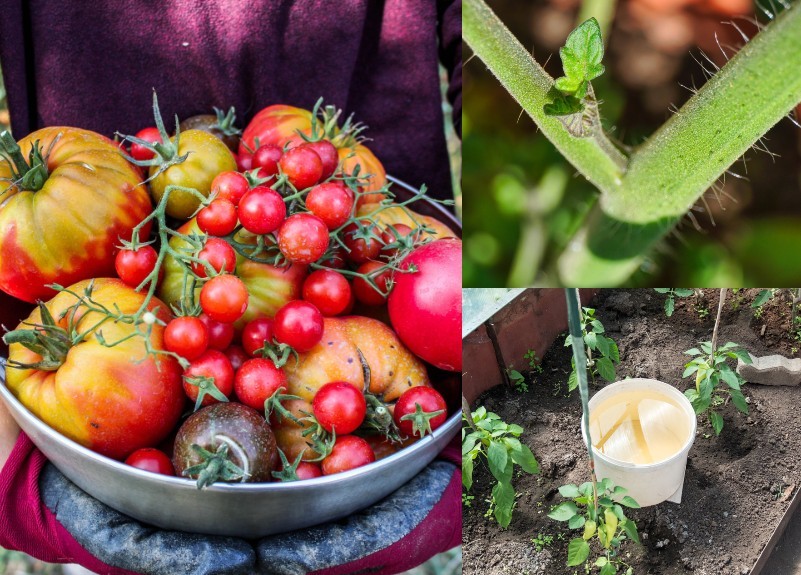
A bumper crop of vine-ripened luscious tomatoes is every veggie gardener’s dream.
The success of this warm season vegetable depends on the length of your growing season, but following the little tricks employed by successful, prize-winning gardeners would ensure that your efforts are rewarded.
Most of their secret tips for bumper tomato crops are actually hidden in plain sight but are easily missed unless pointed out.
1. Deep & thorough soil preparation
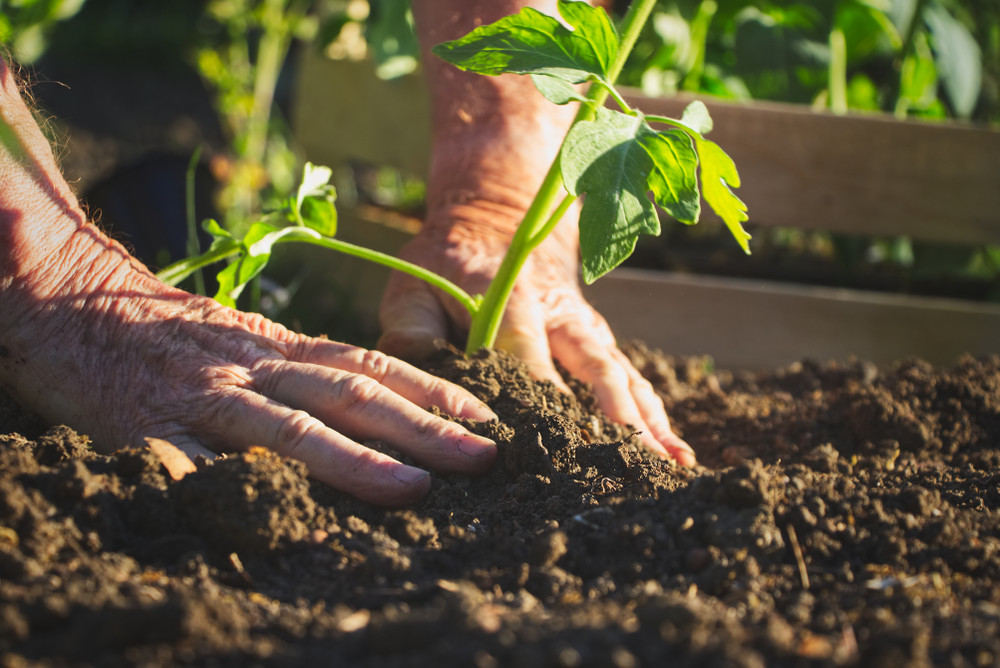
Tomatoes love rich, well draining, deep soil that allows easy root run. And to meet these demands, you should ideally prepare the beds well in advance.
Single digging is bad enough, but if you double dig your beds 24 inches deep, your tomato plants will thank you.
Fill the first 6 inches with organic matter like manure, eggshells, leaf compost etc. Mix in the soil and turn well.
Do this in fall and cover the bed with black plastic to keep the soil warm and allow nature and soil organisms to work their magic over winter.
When your tomato plants are ready to go into the beds in spring, dig holes 12 inches deep and wide for each transplant. Remove the lower leaves and place the plants deep in the holes.
Fill in with a mixture of soil and compost to which a handful of Epsom salt or a 10-10-10 fertilizer has been added.
2. Deep watering
Deep watering at longer intervals is better than frequent shallow watering.
Deep watered tomato plants develops a strong root system that anchors the plants well. They also get access to nutrients in the deeper layers of the soil. The roots will not suffer when the topsoil dries out.
Here is one ingenious way to ensure deep watering:
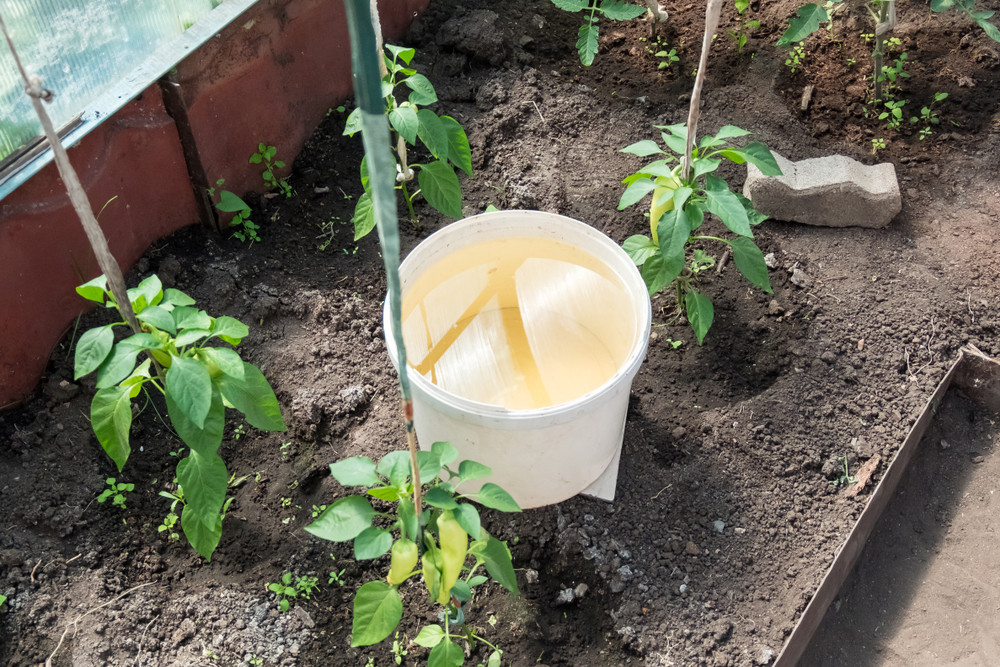
Drill several holes closer to the bottom of a bucket or plastic barrel. Bury the bucket in the tomato bed up to a few inches from top. Fill the bucket halfway with compost. Plant 3-4 tomato transplants around the bucket.
Fill the bucket with water every time you want to water the tomato plants. It will provide not only a good supply of water to the deep-rooted plants but a dose of nourishing compost tea. Watering frequency can be once or twice a week depending on the weather conditions.
3. Mulching
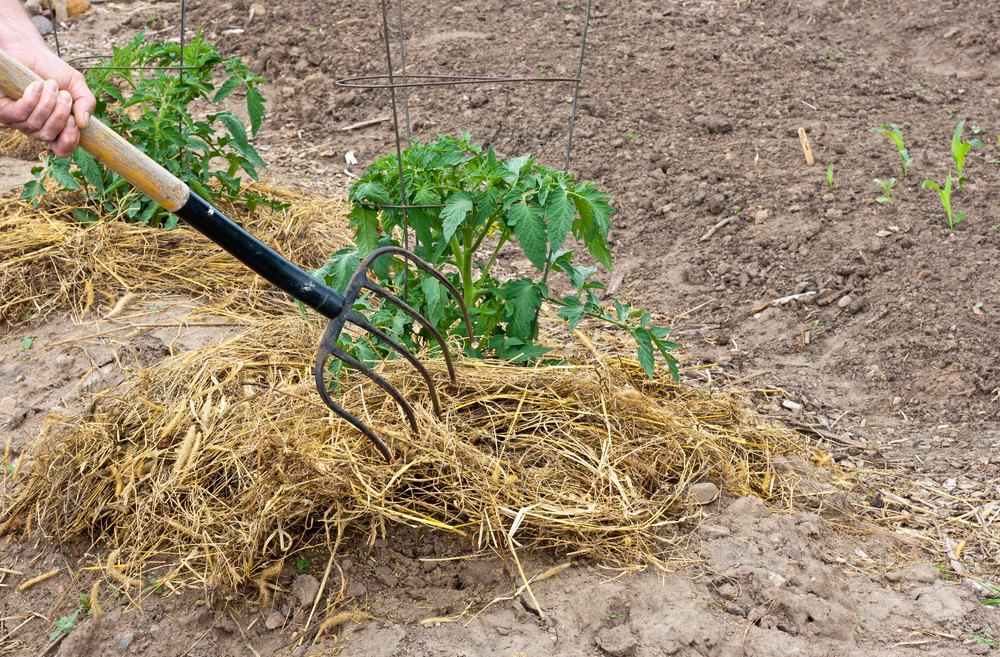
Mulching is done for many reasons, usually to protect the soil and suppress weeds.
In the case of tomatoes, keeping the soil warm is almost as important as watering.
Organic mulches like leaves, grass clippings, and straw help increase the fertility of the soil as they gradually disintegrate. Mulching should be done as soon as the tomatoes are planted, and it should be a few inches thick for proper insulation.
Plastic mulch is another good choice because it is great at conserving warmth. While it allows the movement of air and water, thanks to the pores in the plastic sheet, it forms a good barrier between the aerial parts of the plants and the soil, protecting them from many pests and pathogens.
Red plastic mulch is found to increase tomato yield by 12%, probably by selectively reflecting the red spectrum of sunlight to the plants.
4. Providing support
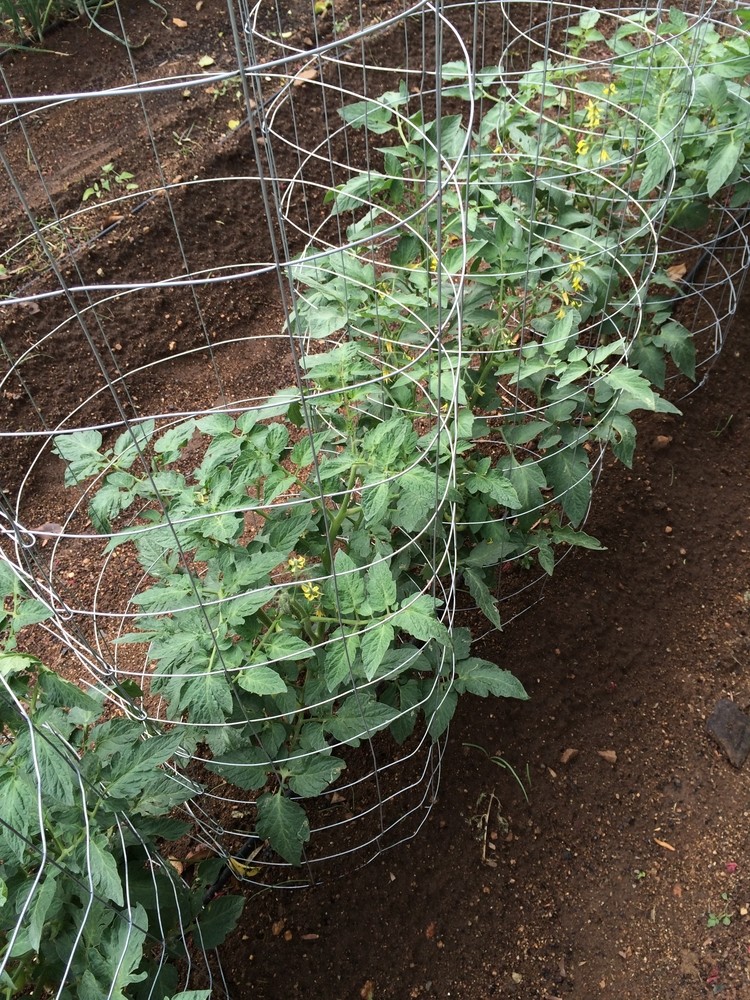
Tomato plants without support grow upright for a bit and then double over, drop to the ground, and then grow all over the place.
Horizontal stems produce a lot of branches and fewer tomatoes. Proximity to the ground makes the plants prone to diseases too.
Vertical growing allows good air circulation and more sun exposure, which translates to healthy, disease-free plants with higher yield.
Stakes, trellises or tomato cages can be used for support. Have it in place as soon as the plants are set out, to avoid disturbing the root system later.
However, don’t tie the plant to the support until the first cluster of flowers appears. Use soft, yielding ties, like pieces of rags or pantyhose to avoid the tie damaging the soft stems.
5. Pruning

This is one of the most important tasks in tomato cultivation to ensure big crops. When the first flower cluster appears, remove all suckers growing from leaf axils below that point and tie the plant to the support.
If you want a multi-branched plant, allow 2 or 3 healthy branches from the first 2-3 nodes above the first fruit cluster.
Keep removing all suckers thereafter to make the plant focus its energies on flowering and fruit production.
6. Fertilizing
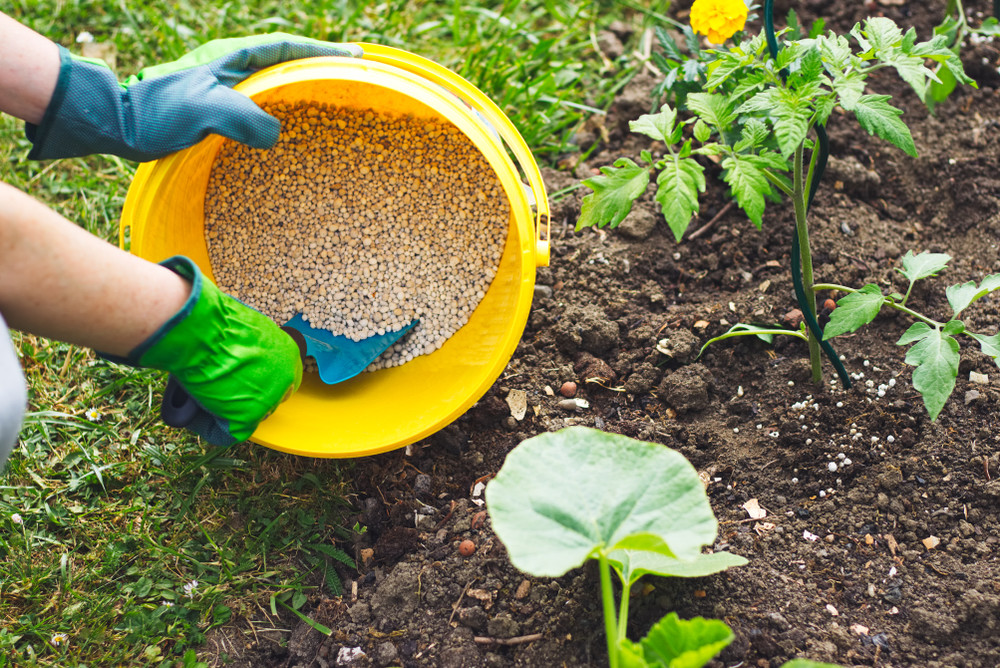
The first few weeks after transplanting should be dedicated to growing roots and leaves. A good root system, as well as lush vegetative growth, lays the foundation for future yield.
Start with good quality compost and a 10-10-10 NPK fertilizer at planting.
Nitrogen supports the leaves and the stems, Phosphorous promotes root growth, and Potassium (K) is important for flowering and fruit setting.
After the first 4 weeks, shift to a low nitrogen–high potassium fertilizer to tone down vegetative growth and give a boost to fruit formation.
7. Topping off
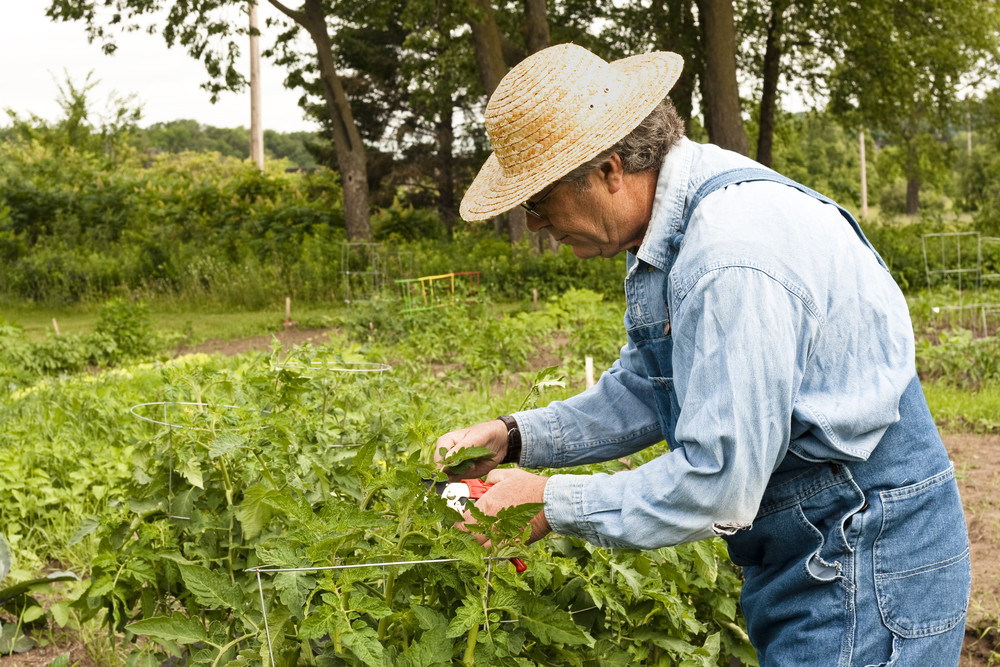
This is the final pruning step that many gardeners tend to overlook or deliberately avoid.
Topping off is removing the growing tip of the stem to stop the growth of indeterminate type of tomatoes.
In multi-stemmed plants, all the stem tips should be trimmed. This directs plant sugars exclusively to the fruit to accelerate the ripening process.
Topping off should be done 4 weeks prior to the first expected frost date.
Follow these tips and enjoy a great harvest.
